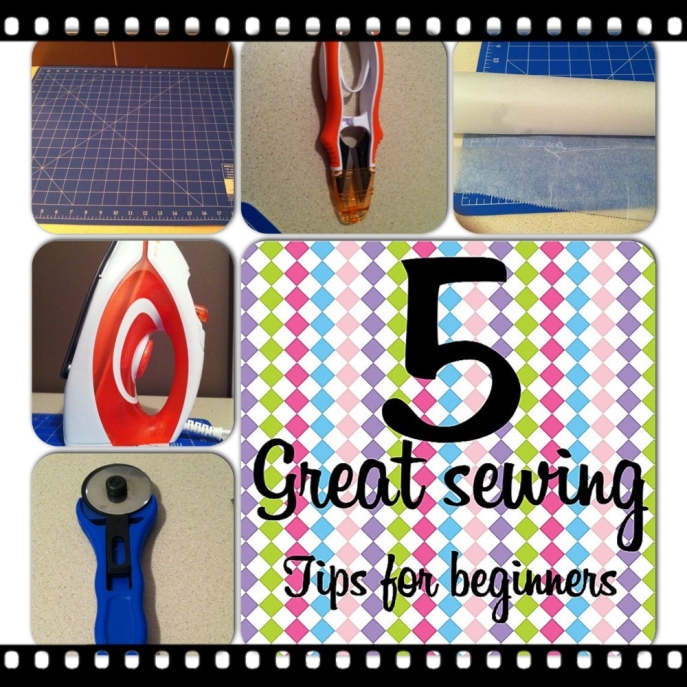
5 Beginning sewing tips

Standard

20140103-235342.jpg

I have been loving every second of my learning to sew journey. I try to watch as many videos and read as many blogs and articles I can. After all, the learning and research can be just as enjoyable. After some failed projects and poorly sewn items, I can share a few basic tips.

Iron, Iron, Iron
This can be the difference between a finished product looking poor or quality. A simple iron can ensure that your final product has a professional finish.

Cut straight
Investing in a rotary cutter was one of the smartest things I did. The cut is superb and clean. It is easier to cut straight. Sounds so simple but having straight crisp edges also give products that professional finish.

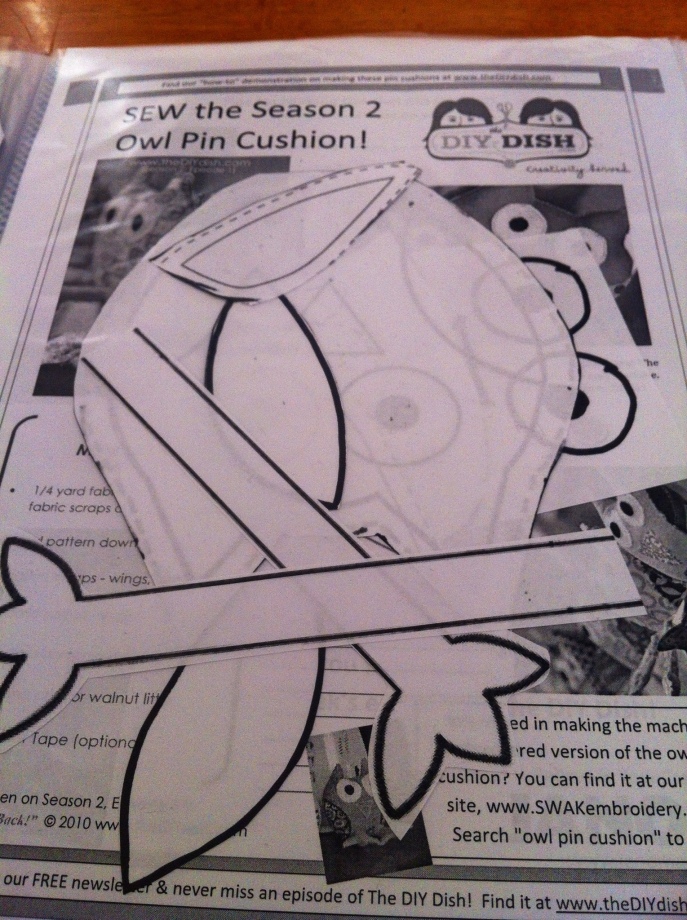
Trace your patterns
I have created a folder with patterns traced and ready to go at a moments notice. I use baking paper as it is easy to store and trace. Having a pre cut pattern means it is easier to cut a piece if you make a mistake. It also means less time is put into measuring pieces.

Cutting mat
Not only does a rubber cutting mat work sensationally with a rotary cutter but it allows you to cut and measure items quickly and accurately. I find it a time saver being able to cut and measure fabric and patterns pieces together and on the spot.

Snip those loose threads
A small thread snipping tools also saves me time while sewing. It means that I have less threads to cut at the end. Cutting those threads helps create a more polished look.

Hope this tips help someone like me who is learning to sew!
Tote bag recipe

Standard

So the new year brings resolutions. The best thing that I read was the concept of “taking up” rather than giving up. As soon as people think that they will miss out, they seek it. So I am changing my mindset and “becoming”. Last year I became a non smoker. This year my goal is to become a more confident sewer. I have just taken up the challenge to learn to sew and one thing that I have discovered is that the style of tote bags that I like share a “layout”. It’s just resized on some blogs. Basically you have:
1. Two side panels that are the same height as your bag
2. One front panel
3. One back panel
4. A bottom panel
5. Two handles

One you understand how to sew the two side panels to the front and back panels the formula is simple. You can simply change the fabric and the size. I have created many bags to practise. I just resized and experiment with interfacing. Loving the results!!

20140103-201046.jpg

20140103-201508.jpg

20140103-201718.jpg

Deep Cleaning mission

Standard

20131227-202734.jpg

I believe that there are two types of cleaning. The “shallow” clean and the “deep” clean. Let’s be honest. In between work we clean when we have energy. Other than that it is just quickly wiping, putting things away or tidying up after cooking. We are all guilty of it, shallow cleaning. It makes me feel guilty when I see some of the dust starting to build. So now I am going to set myself a goal. To “deep” clean every space in my house. No quick surface cleaning. I started with the lounge room. The TV area was first followed by the edges of the walls and floors. Next came the windows and tables. Finally I vacuumed every area of the couch. Four hours later, brand new deep cleaned lounge room. Tomorrow onto the linen cupboard…..

Keeping those threads organised

Standard

20131227-202242.jpg

Organisation is super important when learning to sew. It ensures that you use your time more effectively and can focus on developing high standard projects. Loose threads drive me crazy. I was wrapped when I came across this thread container on sale at Spotlight. For ten dollars, this was a steal!

Milo Balls tray

Standard

20131224-180341.jpg

20131224-180410.jpg

A great reminder that Christmas is a time of giving and sharing. I adapted this recipe to make a milo ball Christmas platter.
Ingredients:
1/2 cup of coconut
1 packet of Marie biscuits
4 tablespoons of Milo
I tin of light condensed milk

Combine the coconut and Milo in a small bowl. I like to use the blender to quickly crush the biscuits. Mix all dry ingredients and then add the tin of condensed milk. Remove small chunks and roll into balls. I add a small layer of coconut to the top of each ball when rolling. Then refrigerate for half an hour. Once cold melt chocolate, pour on top and add Christmas sprinkles. People can break off and enjoy!

Merry Christmas to all!

Gift bags

Standard

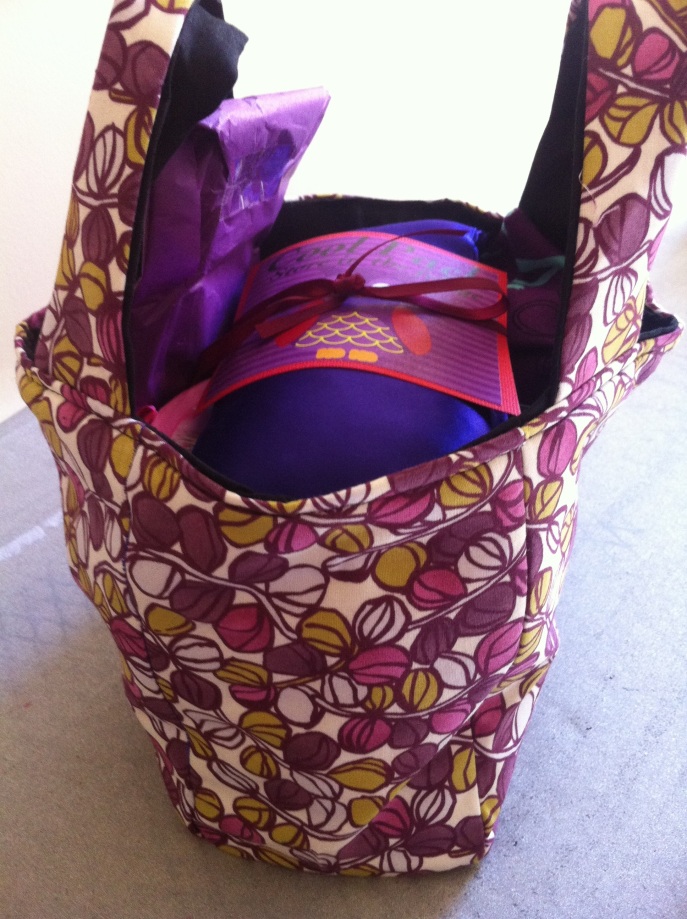
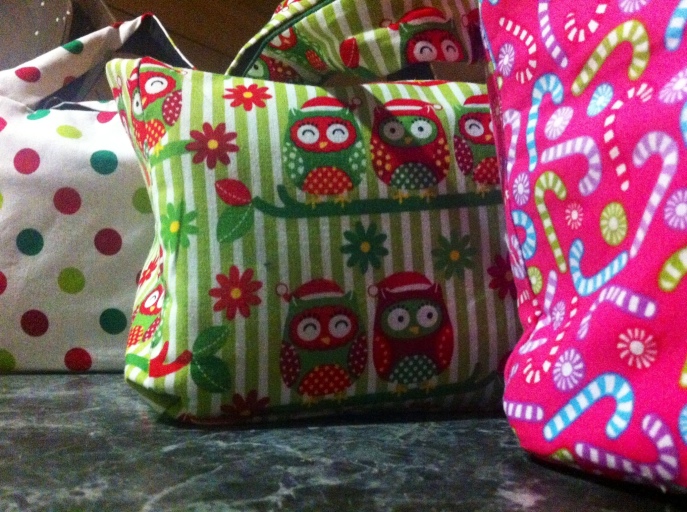
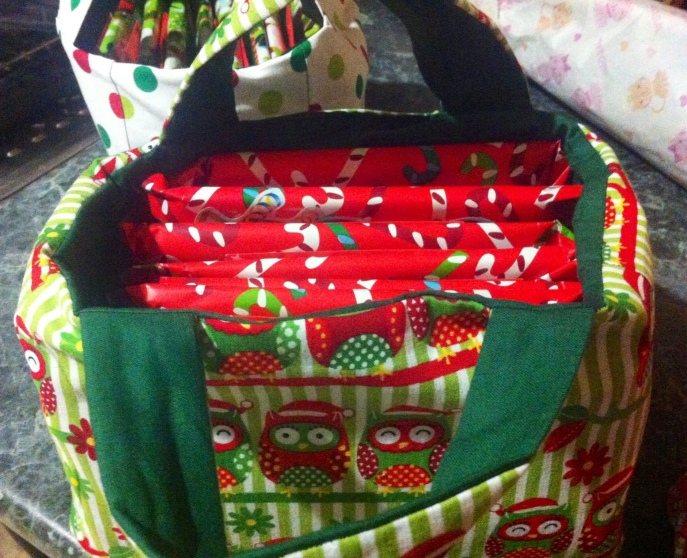
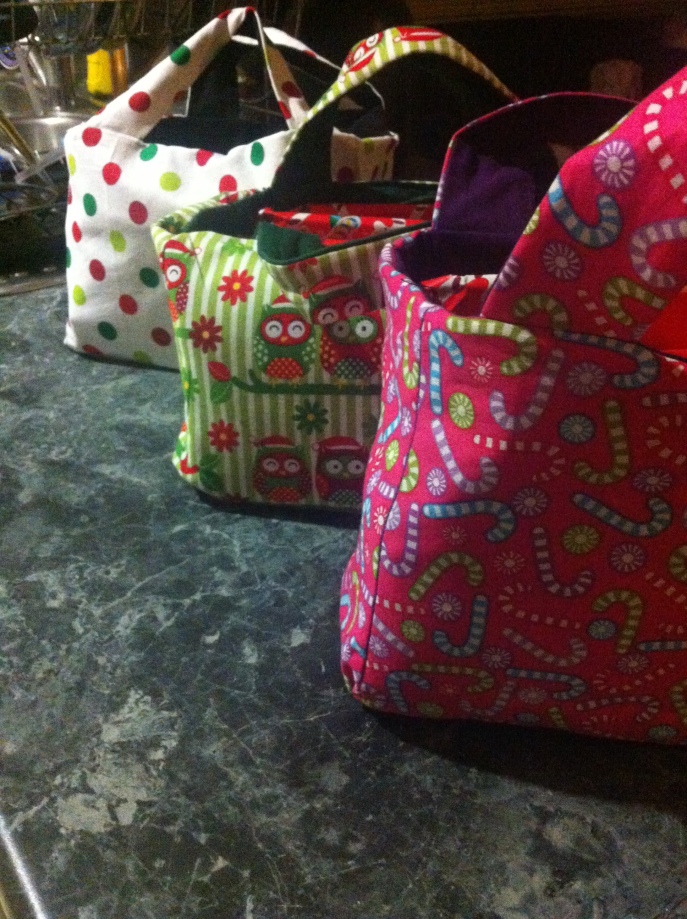
Continuing on from my previous post, the Mini tote can be used as a storage to hand out presents and cards. Place them on a table & they look fantastic. Quick and easy way to get into the Christmas spirit.

20131219-232644.jpg

20131219-232918.jpg

20131219-232932.jpg

20131219-232905.jpg

Mini patten book

Standard

20131219-231331.jpg

One thing that I find frustrating when learning to sew is keeping track of patterns and guides. It is often frustrating tracking tutorials on computer screens so I found a website called Print Friendly.
http://www.printfriendly.com/
Every time I find a decent pattern I paste the link, remove the unwanted features and save it as a .pdf file. Then when I need it, I print it and place it in a folder.

To speed along the pattern process, I simply draw the pattern dimensions on tracing paper and file this. Placing a tab on the side helps me to quickly locate patterns. I wonder what else I can trace patterns onto.

20131219-232329.jpg

20131219-232224.jpg

20131219-232510.jpg